The Plusnet Hub One is a variation of the BT HomeHub 5a.
I previously posted a article in 2016: Unlocking BT HomeHub 5a
These routers are pretty old now but can be useful as an addition to an existing network or for testing.
Why Do This? #
There are various reasons for doing this, the main is to gain more control over the router allowing you to add more features.
Hardware Modification #
Requirements #
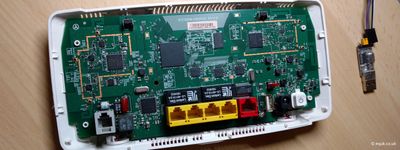
Opening the Plusnet Hub One without breaking the clips takes a lot of patience.
See image at top of page for reference ( 2 x clips either side + 4 x clips at top + 2 x clips at bottom corners )
Serial UART #
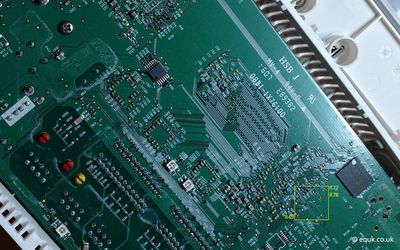
Here is a image of the PCB to show the size of the solder points.
(the white header on the left is a USB port).

Solder the UART points below the flash memory R77 & R78 which trace back to SoC VRX268 pins B22 & C23.
The U-Boot doesn't have bootdelay variable so we also need to solder to BOOT_SEL2 (R45) to enable UART.
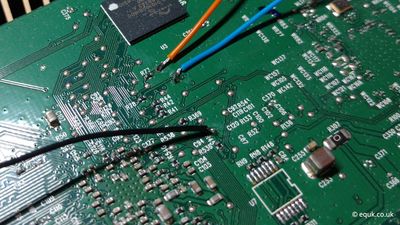
Here is a image of the points after soldering (R77, R78, R45).

Connect a serial device to TXD, RXD & GND (R77 is TXD, R78 is RXD, R45 is BOOT_SEL2).
I used a CH340G USB to Serial adapter. It's also possible to use a Raspberry Pi.
Software Modification #
I recommend reading through the references below to uderstand the process before proceeding.
Supported Routers #
References #
Requirements #
Files
Modification Steps #
Make sure you understand these steps before proceeding.
Danger
Backup current firmware to a FAT32 formatted USB stick using the install image before writing new firmware. (filesize of backup should be ~128MiB)


Webmentions
No Comments Yet